Get in Touch with Us!
.png)
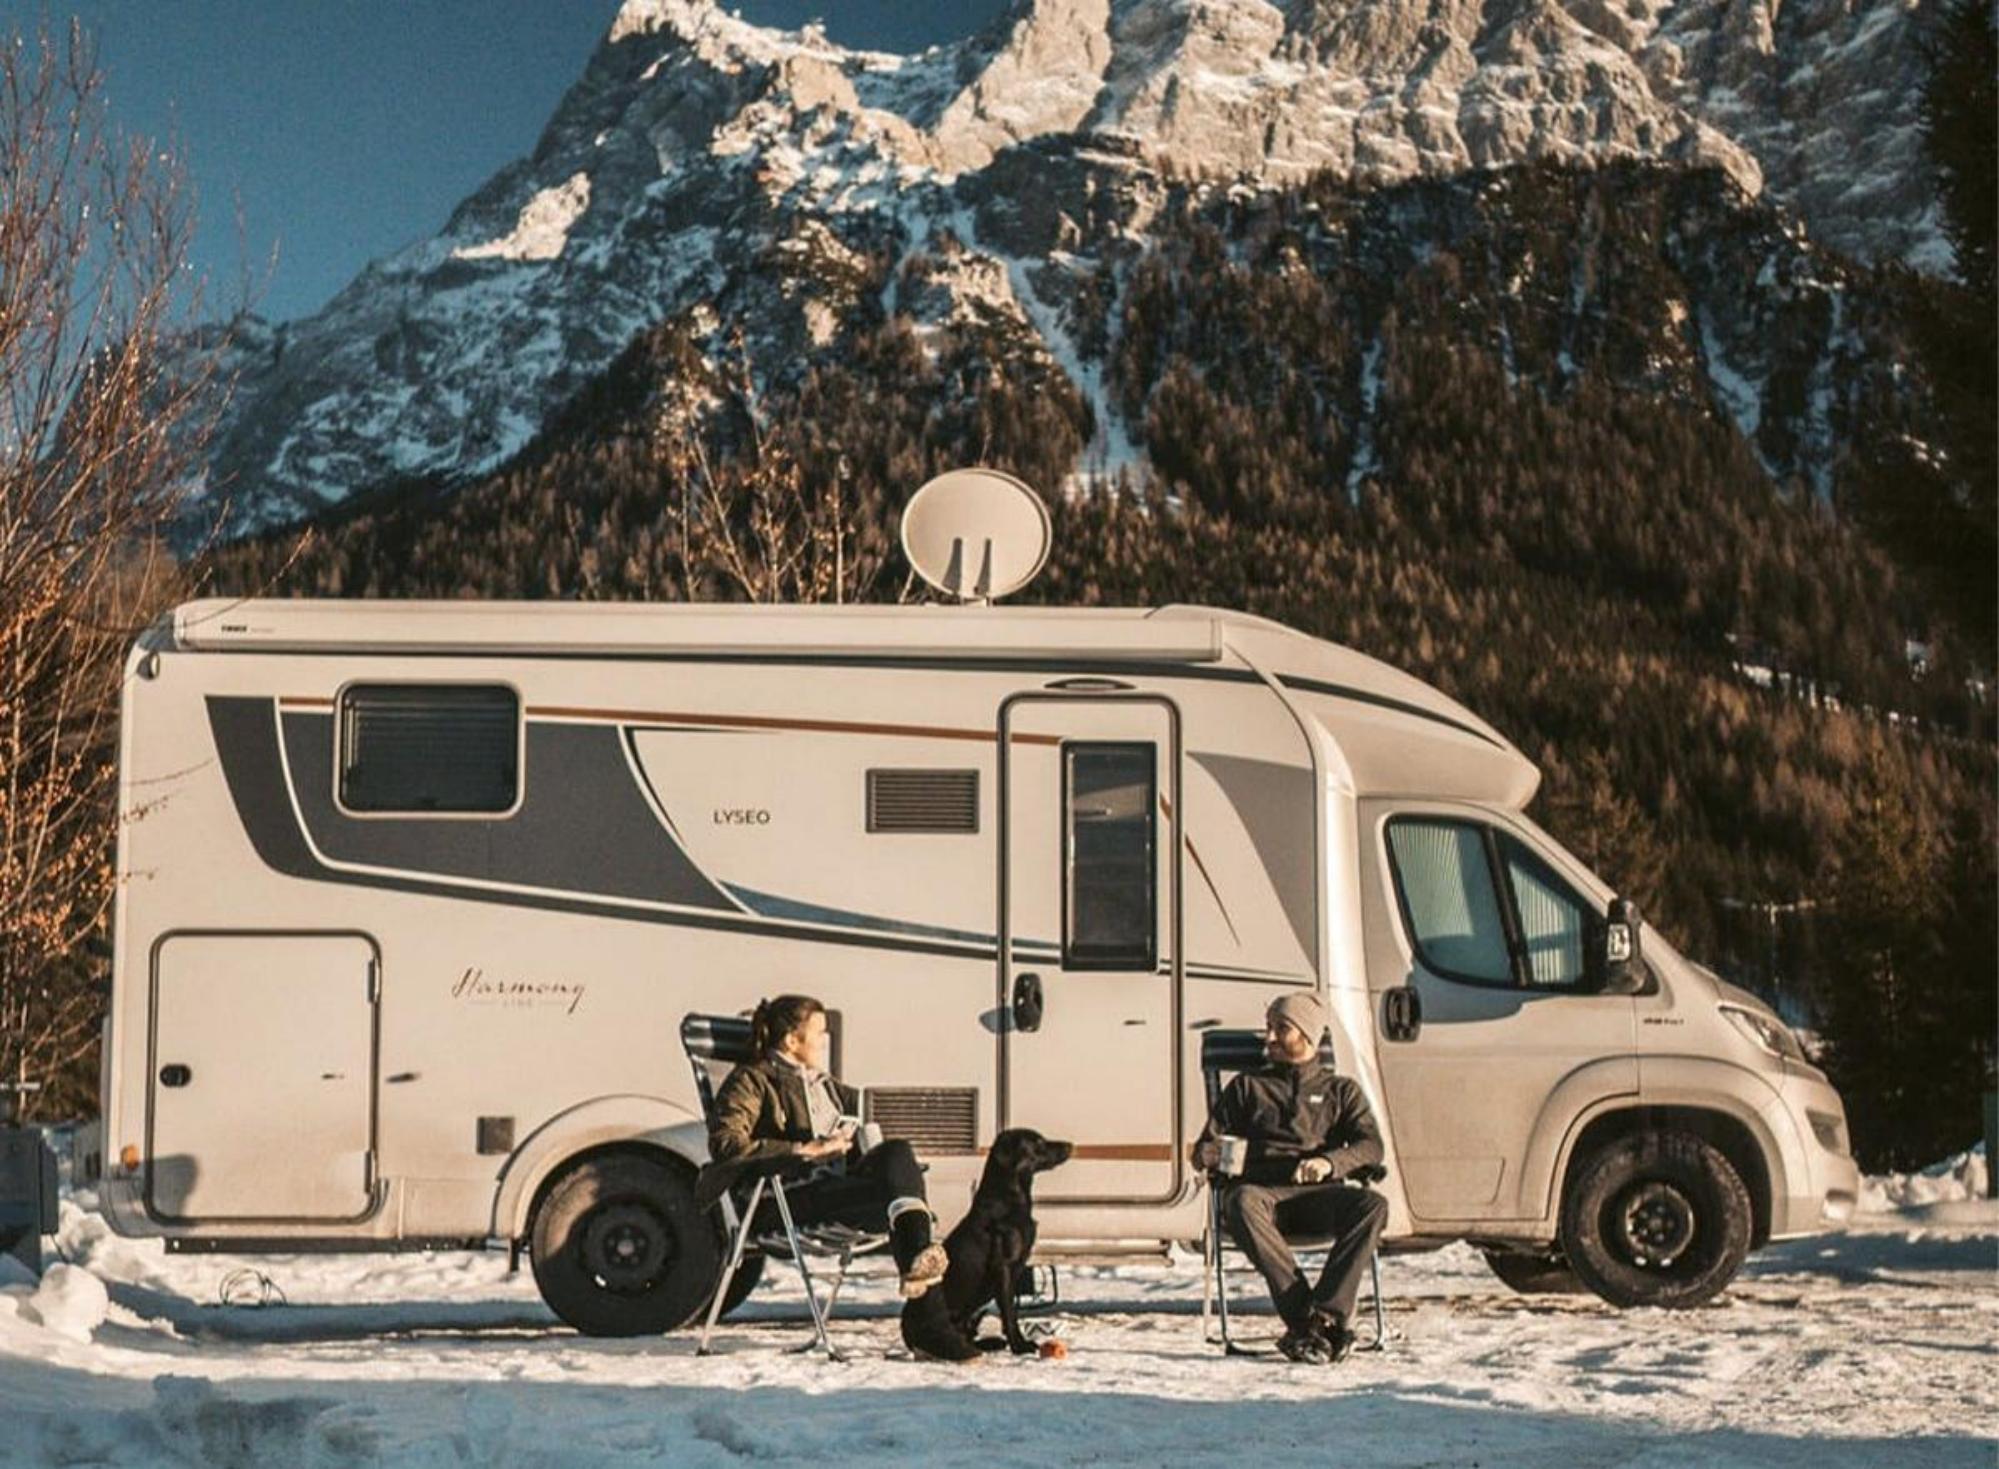
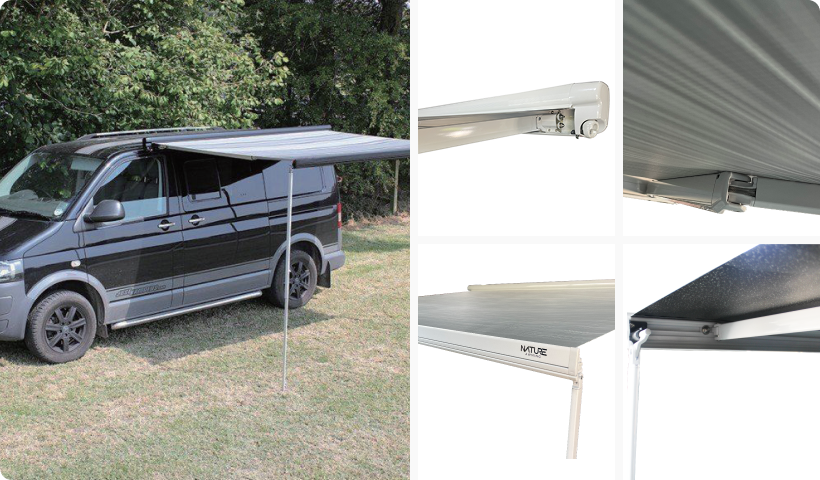
An RV awning is an essential accessory for enhancing your outdoor comfort and extending your living space while traveling. Whether you're camping, tailgating, or simply relaxing by your RV, an awning provides essential shade, protection from light rain, and a more inviting outdoor environment. Installing an RV awning correctly is crucial to ensure durability, functionality, and safety. Mistakes during installation can lead to leaks, unstable support, or even damage to your RV. This comprehensive guide outlines each step for successfully installing an RV awning, from preparation to final touches. By following these instructions carefully, you can enjoy the benefits of an RV awning without the stress of common installation mistakes.
.png)
Choosing the appropriate RV awning is the foundation of a successful installation. Various awning types cater to different needs, each with distinct benefits:
Key Factors to Consider:
Proper preparation is essential for a smooth installation process. Carefully gathering tools and measuring your RV’s mounting area will reduce the risk of misalignment and ensure everything fits securely.
Tools Needed:
Preparation Steps:
Park Your RV on Level Ground: Ensuring your RV is stable prevents shifting during installation.
Clean the Installation Area: Remove any dirt, dust, or debris from the mounting surface. This ensures a clean contact point for brackets and sealant.
Measure the Mounting Space: Carefully measure the width where your awning will be installed. Mark the points for mounting brackets to ensure alignment.
Check Awning Instructions: Each awning model has unique mounting specifications. Review the included guide for specific spacing details and recommended bracket placement.
Installing the awning hardware correctly ensures your awning remains secure during use and travel. Follow these steps carefully:
Attach the Awning Rail:
Install the Mounting Brackets:
The roller tube is the backbone of your awning system, housing the fabric and allowing smooth extension and retraction.
With the help of an assistant, lift the roller tube into place. Ensure both ends are properly aligned with the brackets.
Carefully insert the roller tube into the mounting brackets.
Secure the roller tube by fastening the designated screws to hold it firmly in place.
Confirm that the roller tube rotates freely without resistance. Lubricate moving parts if needed to improve motion.
Properly installing the awning fabric ensures durability and smooth operation.
Insert the awning fabric’s bead into the channel of the awning rail.
Slowly slide the fabric along the rail, ensuring it remains straight and even. An assistant can help guide the fabric while you manage alignment.
Once the fabric is fully inserted, secure both ends with end caps to prevent shifting.
Adjust the tension on the roller tube to ensure smooth extension and retraction. Tightening or loosening the tension may be necessary depending on the manufacturer’s instructions.
Testing ensures your awning is operational and properly installed:
To improve durability and weather resistance:
Apply waterproof sealant around all mounting points and brackets.
Inspect the structure for gaps or unsealed areas and apply additional sealant as needed.
Consider installing optional accessories such as LED lights, wind sensors, or tie-down straps for added functionality and stability.
Proper maintenance will extend your RV awning’s lifespan. Follow these best practices:
Avoiding these errors will improve your installation process and prevent damage:
Installing an RV awning is a rewarding project that enhances your outdoor comfort and maximizes your RV’s functionality. By following these detailed steps, ensuring accurate measurements, and conducting proper maintenance, you’ll enjoy a durable and reliable awning for years to come. With the right tools and careful preparation, you can confidently install your RV awning and create the perfect shaded space for your outdoor adventures.
Get in Touch with Us!
Are you ready to take your RV camping experience to the next level? At NATURE AWNING, we specialize in crafting premium RV awnings that combine durability, ease of use, and stylish design to create the perfect outdoor living space. Whether you're planning a weekend getaway or a long-term road trip, our awnings provide the shade and comfort you need to enjoy every moment.